Adding valid API users in ServiceMonster ensures seamless data integration and functionality following SSO (Single Sign-On) connection. Follow the steps below to set up API users correctly.
Step-by-Step Guide:
Log in to the ServiceMonster Portal: Access your ServiceMonster account by entering your login credentials.
Navigate to API Users Settings: Once logged in, go to the Settings section. Select API Users from the available options.
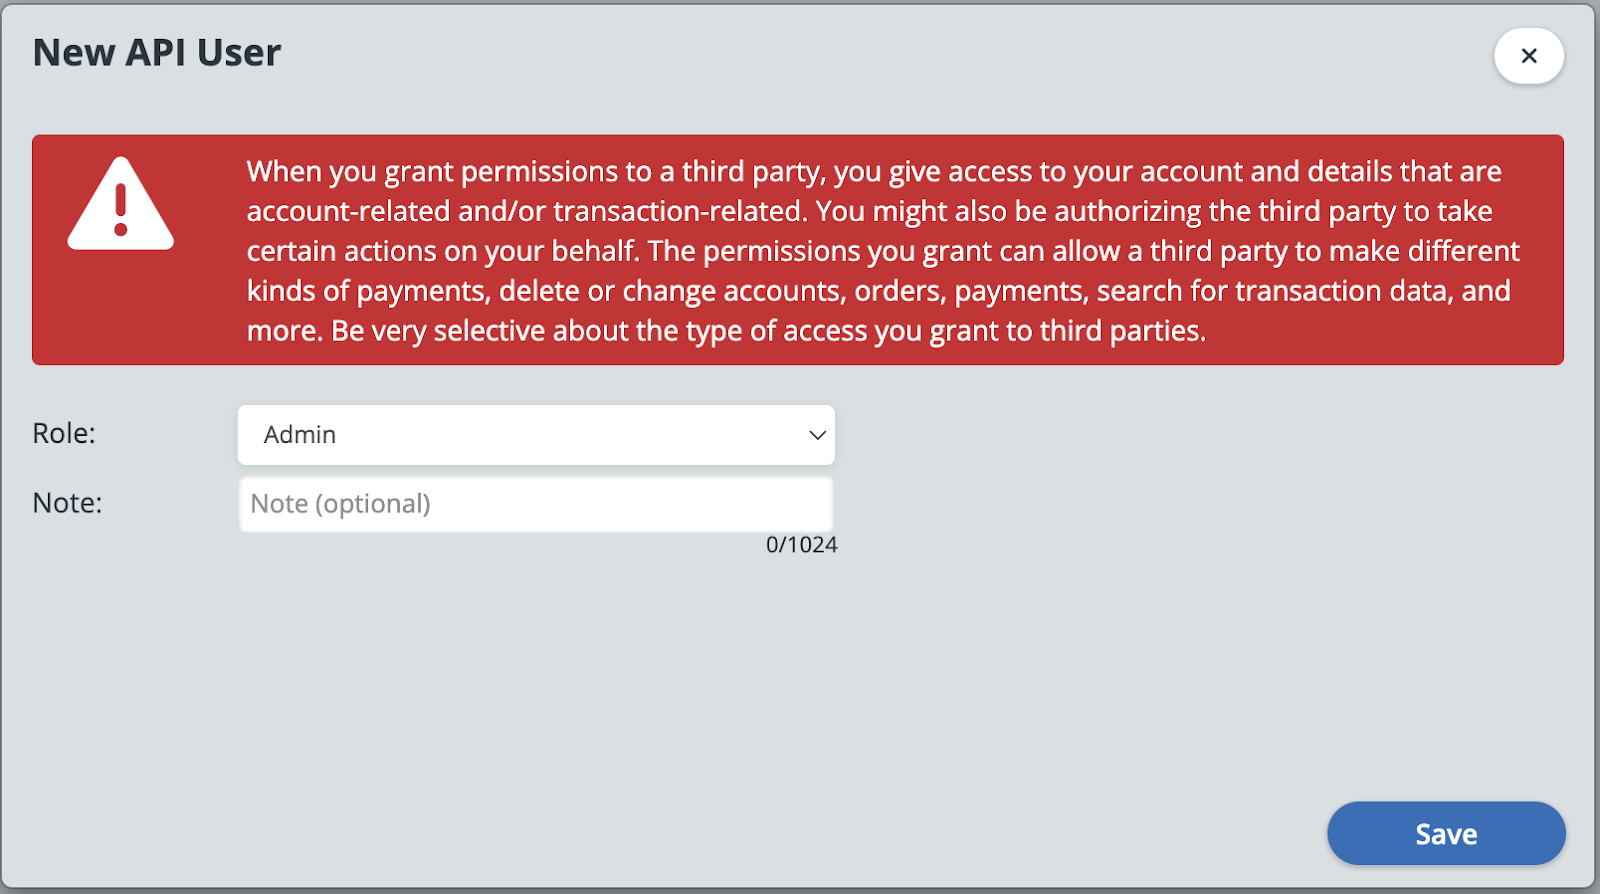
Create a New API User: On the API Users screen, click on the Add API User button. Assign the Admin role to this user to ensure full permissions. Click Save to finalize the creation of the API user.
Note the Generated Credentials: After saving, a screen will display the newly created Username and Password. Important: These credentials cannot be reset or retrieved later. Make sure to save them securely before closing the screen.
Verify User Details: Once you close the credentials screen, you’ll see the newly created API user listed with the assigned Admin role.
Logout from ServiceMonster: Use the top-right menu to log out of the ServiceMonster portal.
Complete SSO Integration: Go to the Integrations screen in the Business App. Navigate to the Marketing page and click on the Add Connection button to initiate the SSO process.
Additional Tips:
Double-check the assigned role for API users to ensure they have the necessary permissions.
Securely store the username and password, as they will not be retrievable later.
By following these steps, you can ensure a smooth setup of API users in ServiceMonster, enabling uninterrupted data flow and optimal system performance.